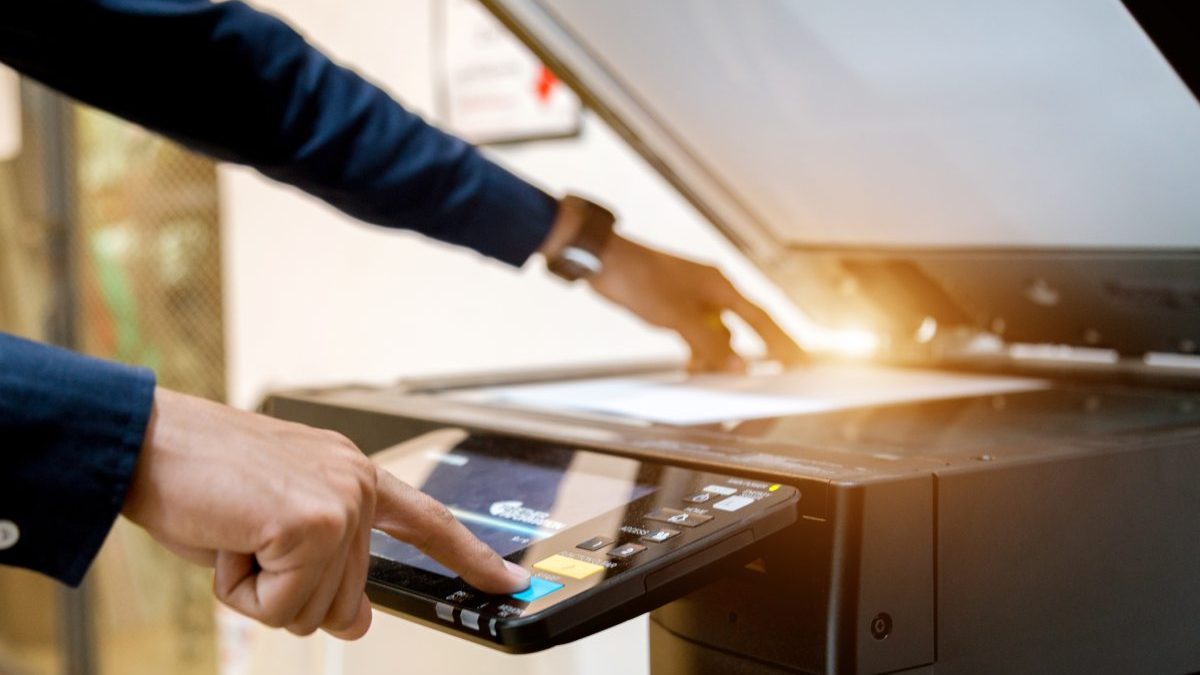
If you’re sick of the mountains of paper cluttering your home or workplace, you can finally make that change. In this case, you might already have the necessary tools, namely a scanner. Your scanner can save you time and effort by turning paper documents into digital files that can be easily accessed with a computer or smartphone.
Documents that have been digitized can be stored in a document management system or even just on the cloud, eliminating the need for physical filing cabinets. Businesses will find scanning to be handy. Some of the benefits include:
- Saving money on filing and storing
- Reduced expenses for distribution
- Ability to secure and manage files
Scanners can greatly benefit everyone, but only if they produce high-quality scans. A poorly executed scan can look like the digital equivalent of putting a paper document through the washing machine. So, you might wonder how you can guarantee a successful scan. Fortunately, there isn’t much work to ensure that the text and photos in your scanned papers are clear and legible.

Here’s how to scan your documents in three simple steps:
Table of Contents
1. Prepare Your Documents
Gather the documents that need to be scanned with a scanner and document scanning software. Sifting through a pile of paperwork to scan might be a drag, but the process will be quicker if you keep your documents in order and work in a well-lit, clutter-free space. You might also have to take out staples, unstuck paper clips, peel off post-it notes, and mend broken pages.
It’d be best not to miss this step. Once a tiny object like a staple or paper clip gets caught in your scanner, you won’t be able to use it again until you remove it or get it removed by a service professional. Furthermore, if you try to scan missing or otherwise damaged pages, you might end up with the wrong scan.
2. Know Your Scanning Objectives
Next, you’ll need to know your scanning goals. Your scanning goals will dictate whether you need to take a picture of the document or whether you’ll also need to extract the necessary information. Both document and data capture methods can be used to accomplish these aims. There’s a distinction between these two procedures.
The original paper document is scanned and converted into an electronic version in document capture, typically in PDF, JPEG, or TIFF format. Then, you can use your software to import and convert digital documents like Word documents and Excel spreadsheets.
On the other hand, data capture entails collecting data from official business documents. A scanner reads text on paper and transforms it into a digital format that a computer can process. The data provided on the scanned forms will be stored and used for later analysis and insights.
Having clear goals before beginning your document scan is crucial as this will help you scan your documents more efficiently.
3. Scan
It’s time to scan the document now that you’ve decided what you want to accomplish with the scan. Make sure the scan quality is good. See to it that the final digital files can be read quickly and that no information was lost in the conversion by performing a manual page-by-page review. Take advantage of the scanner’s built-in image editing tools if possible. Modify scans by cropping, rotating, deskewing, and despeckling to enhance their final picture.
Optical character recognition (OCR) software can also help you convert photos to electronic text if you need to. You should use a professional OCR engine for the most precise results. Once the document or data is digitalized, save it in the appropriate format and store the paper document away for safekeeping. Then, you have to index your files to find them again.
Now that everything is digital, you can access your files from any device, whether a desktop computer, laptop, tablet, or smartphone.
Conclusion
If you’re sick of the mountains of paper that are taking over your home or office, you can finally make a change. In this case, all you need is a scanner. Your scanner can save you time and effort by turning paper documents into digital files that can be easily accessed on a computer or smartphone.
Scanners can be helpful for everyone, but only if they produce high-quality scans. When a scan isn’t done well, it can look like putting a paper document through the washing machine. One could wonder what steps one must take to ensure a fruitful scan.
Luckily, it doesn’t take much work to ensure that the text and photos in your scanned papers are clear and legible. All you have to do is follow these three simple steps, and you’re good to go!

